- Create a new Event/Program and complete all fields that you would normally fill in for an event.
- Scroll to the bottom of the Create Event/Program screen so that you can see the Registration drop-down menu.
- Select the appropriate registration type from the Registration drop-down menu.
Image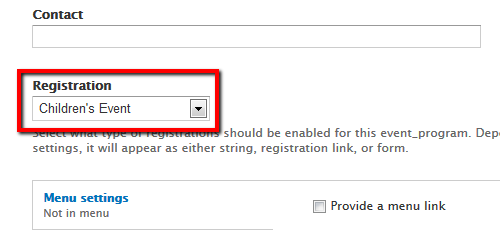
- Click Save.
- Click the Manage Registrations tab, then click Settings.
Image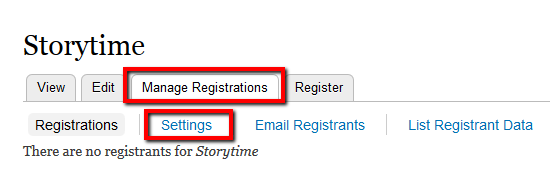
- Review/change the preset settings.
- To set a capacity limit, in the Capacity field enter a number >0. (The default capacity is set to 0 for no limit.)
Image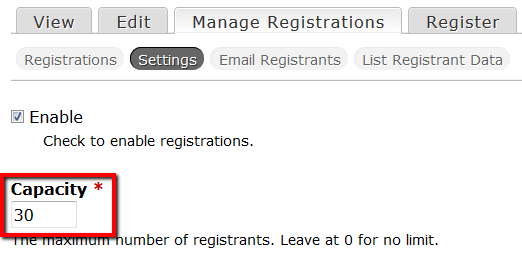
- To optionally enable a wait list, set a capacity limit, then scroll down and check "Enable wait list." Optionally, enter a number >0 for Wait list capacity.
Image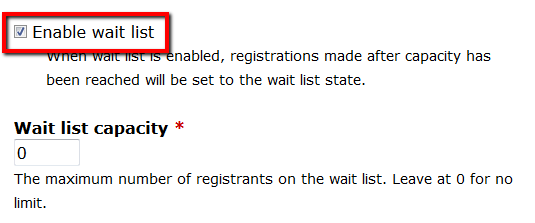
- To set a capacity limit, in the Capacity field enter a number >0. (The default capacity is set to 0 for no limit.)
- Tips:
- Beware of bugs with Capacity and Wait List.
- Set a close date. (Registration will remain open after the event is past, unless you set a close date.)
- Learn more about Cron to understand the timing of email reminder mailings.
- Under Additional Settings, leave all roles unchecked to allow anonymous users (patrons) to self-register.
- Scroll to the bottom and click Save Settings.